Survival Eats: DIY Energy Bars for Urban Explorers and Wilderness Adventurers
In a world where instant gratification often trumps long-term planning, there's a tribe of folks who've embraced the art of preparation. Whether you're an urban explorer, a wilderness adventurer, or just someone who likes to be ready for anything, this blog post is for you. Today, we're diving into the world of DIY energy bars – the perfect fuel to keep you going in any situation. And don't worry, we'll add a dash of humor to keep things lively.
The Quest for the Perfect Survival Snack
Picture this: you're deep in the urban jungle, venturing into an abandoned building with only your flashlight to guide you. Or perhaps you're hiking through the wilderness, miles away from the nearest convenience store. Suddenly, hunger strikes, and you realize you forgot to pack snacks. The horror! Fear not, fellow adventurers, for we have the answer: homemade energy bars.
The Ingredients That Keep You Kicking
Our adventure begins with the ingredients. Remember, these bars aren't just delicious; they're also packed with the nutrients you need to survive your latest escapade.
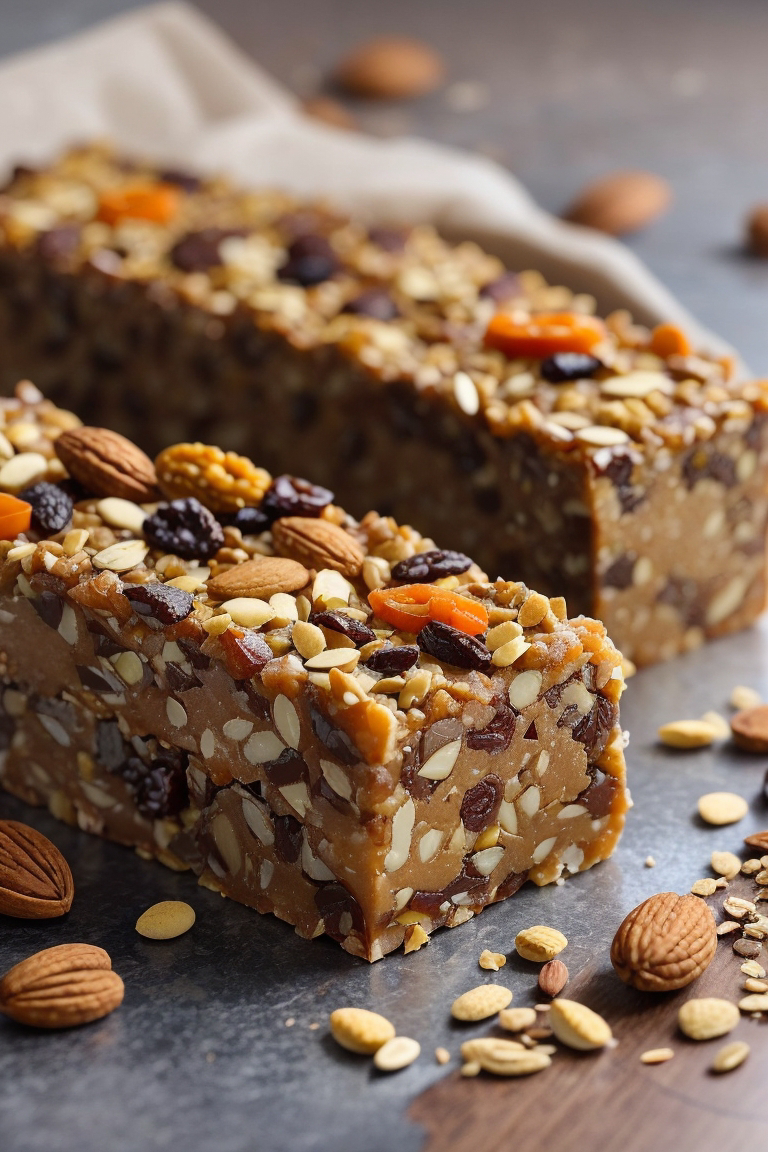
1. Rolled Oats (1 cup): The backbone of your energy bar, rolled oats provide slow-burning carbs to keep you energized for hours. They're like the tortoise in the race against hunger.
2. Peanut Butter (1/2 cup): This sticky superhero adds protein and healthy fats to the mix. It's the Batman to your energy bar's Gotham City.
3. Honey/Maple Syrup (1/3 cup): Your natural sweeteners bring a dash of sugary joy. Plus, they act as binding agents, holding your bar together like a team of trusty sidekicks.
4. Dried Fruits (1/4 cup): Think of these as your adventure's flavor bursts. Raisins, cranberries, or apricots are like little explosions of taste in every bite.
5. Nuts and Seeds (1/4 cup): Almonds, walnuts, chia seeds – choose your own adventure! These add a satisfying crunch and a dose of healthy fats.
6. Protein Powder (Optional, 1/4 cup): When your muscles cry out for aid, protein powder swoops in to save the day. It's like the Avenger of the ingredient world.
7. Vanilla Extract (1 tsp): A drop of this adds a touch of sophistication to your bars. Think of it as the James Bond of your recipe – debonair and smooth.
8. A Pinch of Salt: Just like a pinch of drama in a movie, salt enhances the flavor profile. It's the suspenseful plot twist you didn't know you needed.
The Heroic Preparation Process
Now that you've assembled your team of ingredients, it's time to bring them together for a culinary adventure.
1. Combine your rolled oats, dried fruits, chopped nuts, seeds, and protein powder (if you're going for superhero-level strength) in a mixing bowl. They're like the Avengers assembling to save the day.
2. In a saucepan, heat your peanut butter, honey/maple syrup, vanilla extract, and a pinch of salt. Stir until they form a smooth and harmonious alliance. This mixture will hold your bars together like the Justice League.
3. Pour your peanut butter mixture over your dry ingredients. This is the epic battle where the heroes unite against a common enemy: hunger.
4. Stir everything together until your dry ingredients are fully coated. If the mixture looks too dry, add more honey or peanut butter. You're like a master chef, balancing flavors in your superhero dish.
5. Line an 8x8-inch baking dish with parchment paper. Transfer your mixture into the dish and use a spatula (or your superhuman strength) to press it firmly and evenly. You're building the foundation of your culinary skyscraper.
6. Refrigerate for at least 2 hours, or until your creation is firm. This is your hero's training montage, where they prepare for the final showdown with your hunger.
7. Once set, remove it from the dish and cut it into bars or squares. You're the director of your culinary action movie, making the final, satisfying cut.
8. Individually wrap each bar in plastic wrap or store them in an airtight container. Your bars are now ready for action, whether it's in the urban jungle or the wilderness.
The Long Shelf Life: Your Secret Weapon
Why are these DIY energy bars perfect for preppers? Simple – they have a long shelf life. These bars can hang out in your pantry, patiently waiting for the day you need them most. Forget the "best by" date; these bars are the guardians of deliciousness and nutrition.
Urban Prepping: The Concrete Jungle Survival
Imagine you're an urban explorer, venturing into forgotten places where civilization has left its mark. Your energy bars are like tiny urban survival kits, giving you the energy to conquer stairwells, evade security cameras, and uncover hidden secrets.
Wilderness Prepping: Nature's Playground
Now, shift gears to the wilderness adventurer. You're miles away from civilization, surrounded by towering trees and curious wildlife. Your homemade energy bars are your trusty sidekicks, keeping you fueled as you hike, camp, and explore the great outdoors.
Conclusion: Be Prepared, Be Energized
In the world of urban exploration and wilderness adventures, preparation is the name of the game. Whether you're a seasoned pro or just getting started, having a stash of homemade energy bars in your backpack can make all the difference. These nutrient-packed, shelf-stable wonders will keep you energized and ready for whatever challenges lie ahead.
So, channel your inner chef, assemble your ingredients, and create your own batch of survival snacks. With a little humor and a lot of preparation, you'll be ready to conquer the urban and wilderness frontiers like a true adventurer. Remember, in the world of prepping, the best defense is a good snack offense!
Nutritional Facts:
Per Serving (1 bar):
- Calories: 250-280 kcal
- Total Fat: 12-15g
- Saturated Fat: 2-3g
- Sodium: 50-75mg
- Total Carbohydrates: 30-35g
- Dietary Fiber: 4-5g
- Sugars: 15-18g
- Protein: 7-9g


No comments:
Post a Comment